Deploy Plex with Easypanel
Severin,•web development
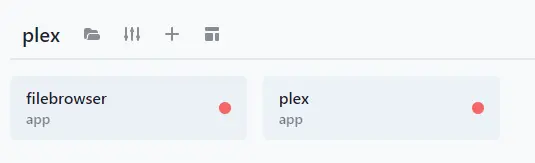
Step 1 - Create a new project folder
Give it a name for example “plex”
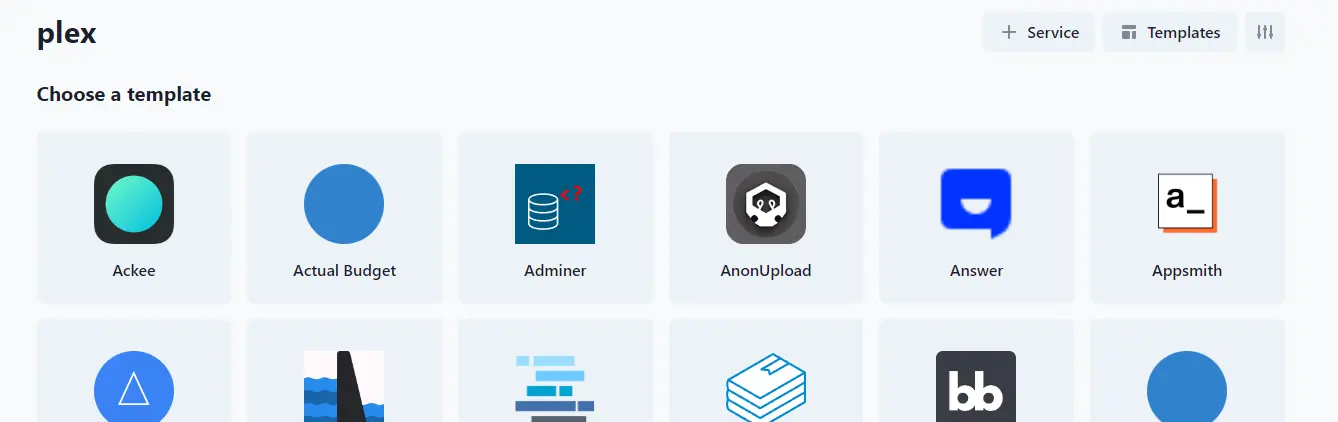
Step 2 - Create a new service with “Templates”
Choose the plex template and create the service
Step 3 - Edit the settings for the plex service
Go under Environment and add PLEX_CLAIM. You get the PLEX_CLAIM id from https://www.plex.tv/claim/ The ID is only valid for 4 minutes, so be fast or generate a new one before deployment.
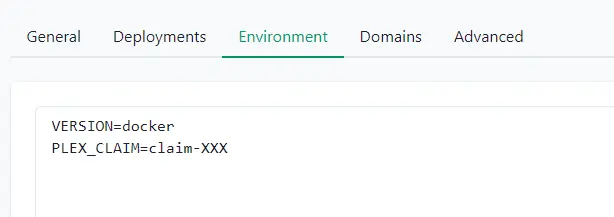
VERSION=docker
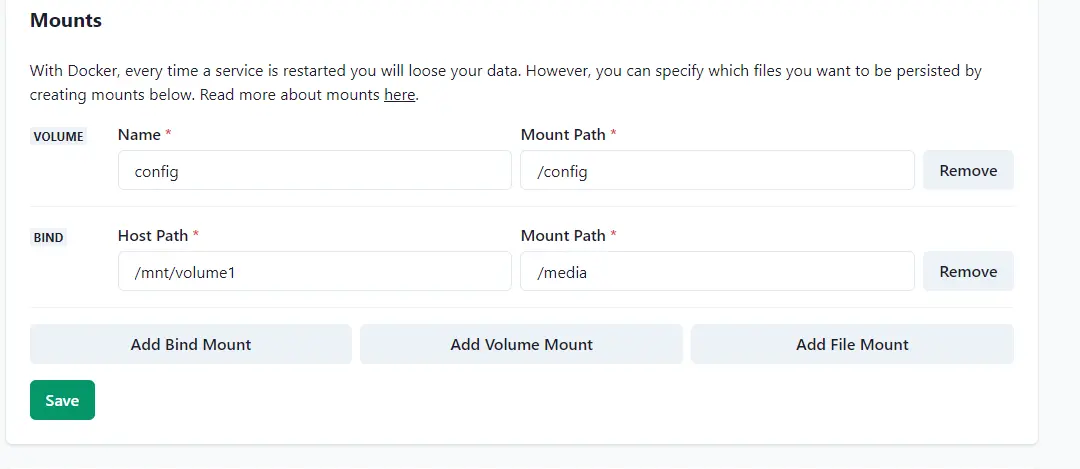
PLEX_CLAIM=claim-XXXStep 4 - Mounts
That is the location where the media files will be located You either create a volume mount if you have enough space on your easypanel server or ssh into the easypanel server and connect a external source as a mnt drive
Step 4 - Deploy and Enjoy
Press deploy and connect to the website Configure it like every other plex instance